


Production Story of...the Lined Pipe Carrier
Production Story of...the Lined Pipe Carrier
Posted On: 12th December 2016
Here at Van Guard, we offer a range of Pipe Carriers to prevent damage to conduit & fascia – different capacities, lengths, and liners. We have gone behind the scenes in our manufacturing plant to show you how our lined MAXI Pipe Carrier is assembled.
Extrusion
First step is to grab the required length of extrusion. As standard we offer 2m & 3m but variable lengths up to 6m are available too. The quality of the extrusion needs to be up to scratch (but not scratched!) so the whole length is checked for any dents or imperfections.
Next step is to deburr one end of the extrusion making sure no sharp edges can cause harm to the customer. Once it is clean and free from debris, the team moves on to the first end cap…
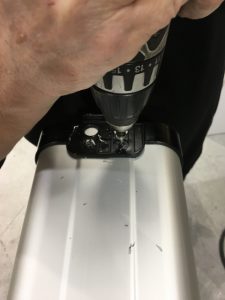
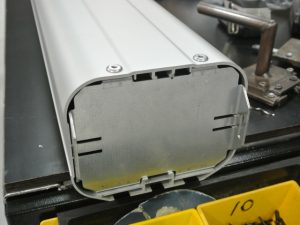
Attaching the Opening end cap
This is the riveting part – it really is that compelling! Seriously, this is quite a complex process and all done by hand. It requires some riveting, drilling, and precision work but being Made in Britain what else would you expect?
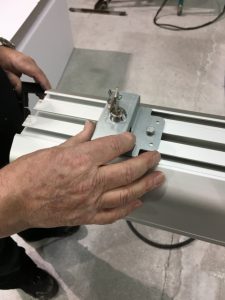 Assembled lock housing is placed into T-Track of extrusion
 5mm holes drilled through extrusion
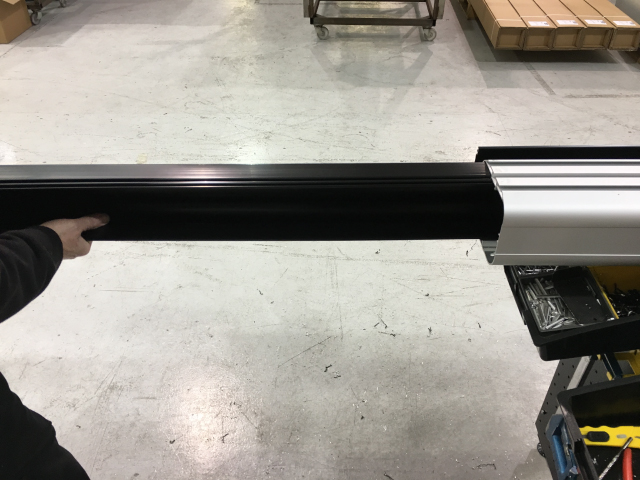
Liner
Now to the other end of the Pipe Carrier where the team insert the trusted liner made from plastic.
On the Maxi Pipe Carrier, the liner is supplied in two halves. The liner is pushed down to the opening end cap, using the inner grooves that run down the length of the extrusion.
Once both liners are in place and lined up, a stiffener is pushed in to prevent any potential movement.
Back up to the lockable end of the pipe - The team make sure the liner is flush with the end of the extrusion, and tap into place, if required.
 Half of the pipe liner is pushed down to the end
 Liner flush with end of extrusion
Front end cap
On to the other end! Time for a little jig!
A jig is placed on the extrusion and two 5mm holes are drilled. Using a 6.6mm drill bit, they drill back through the 5mm holes. The pipe is then turned over and the drill steps are repeated.
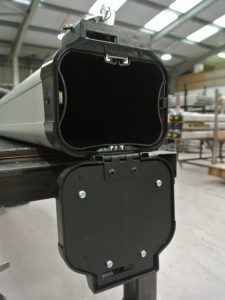
Our Maxi Pipe Carrier is crash tested to capacity to ECE Reg 17 standards. The reason it passed is the inclusion of a bulkhead in the end of the pipe.
 Front end cap bulkhead
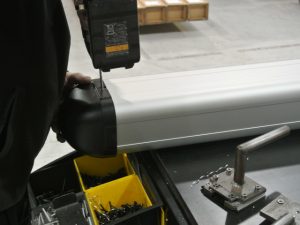 Front end cap is riveted into place
Carrying Britain’s Business
Now for stickers! Handed stickers are placed on both sides of the Pipe Carrier, towards the front-end cap. Nothing like boasting you’re Carrying Britain’s Business.
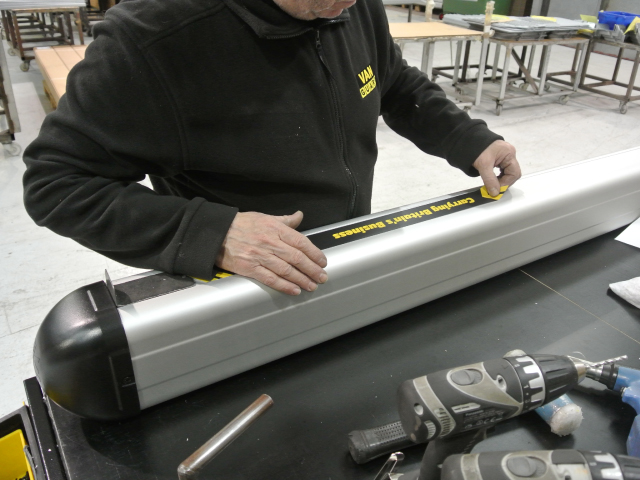 Stickers are applied to both sides of the pipe
Fixing Kit
All Pipe Carriers come supplied with relevant fixings and brackets allowing it to be fitted to a vast range of commercial roof bars.
The fixing kit and pair of keys are put in a bubble pouch and placed on the lockable end of the pipe. Foamex is placed on to the lock housing and the Foamex and bubble pouch is wrapped to the extrusion.
 Foamex is placed and wrapped to extrusion
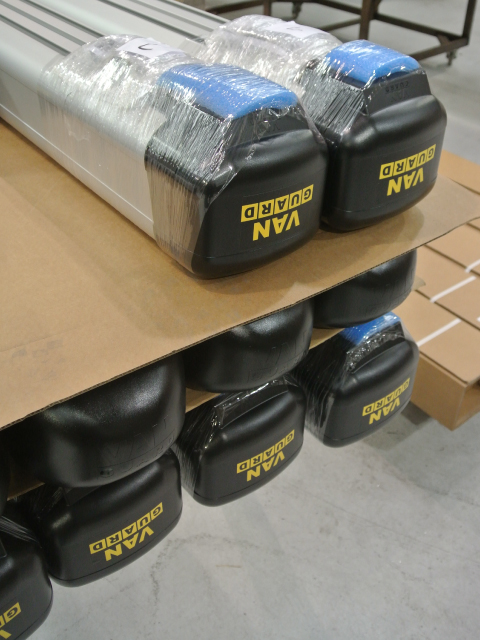
Packaging
We take a lot of care ensuring that our product reaches you in the same condition it leaves our factory. After all that care and attention by hand, we don’t want the product to spoil on its way to you. So, lots of cardboard, Foamex and taping to keep your Pipe Carrier safe and secure.
Voila!